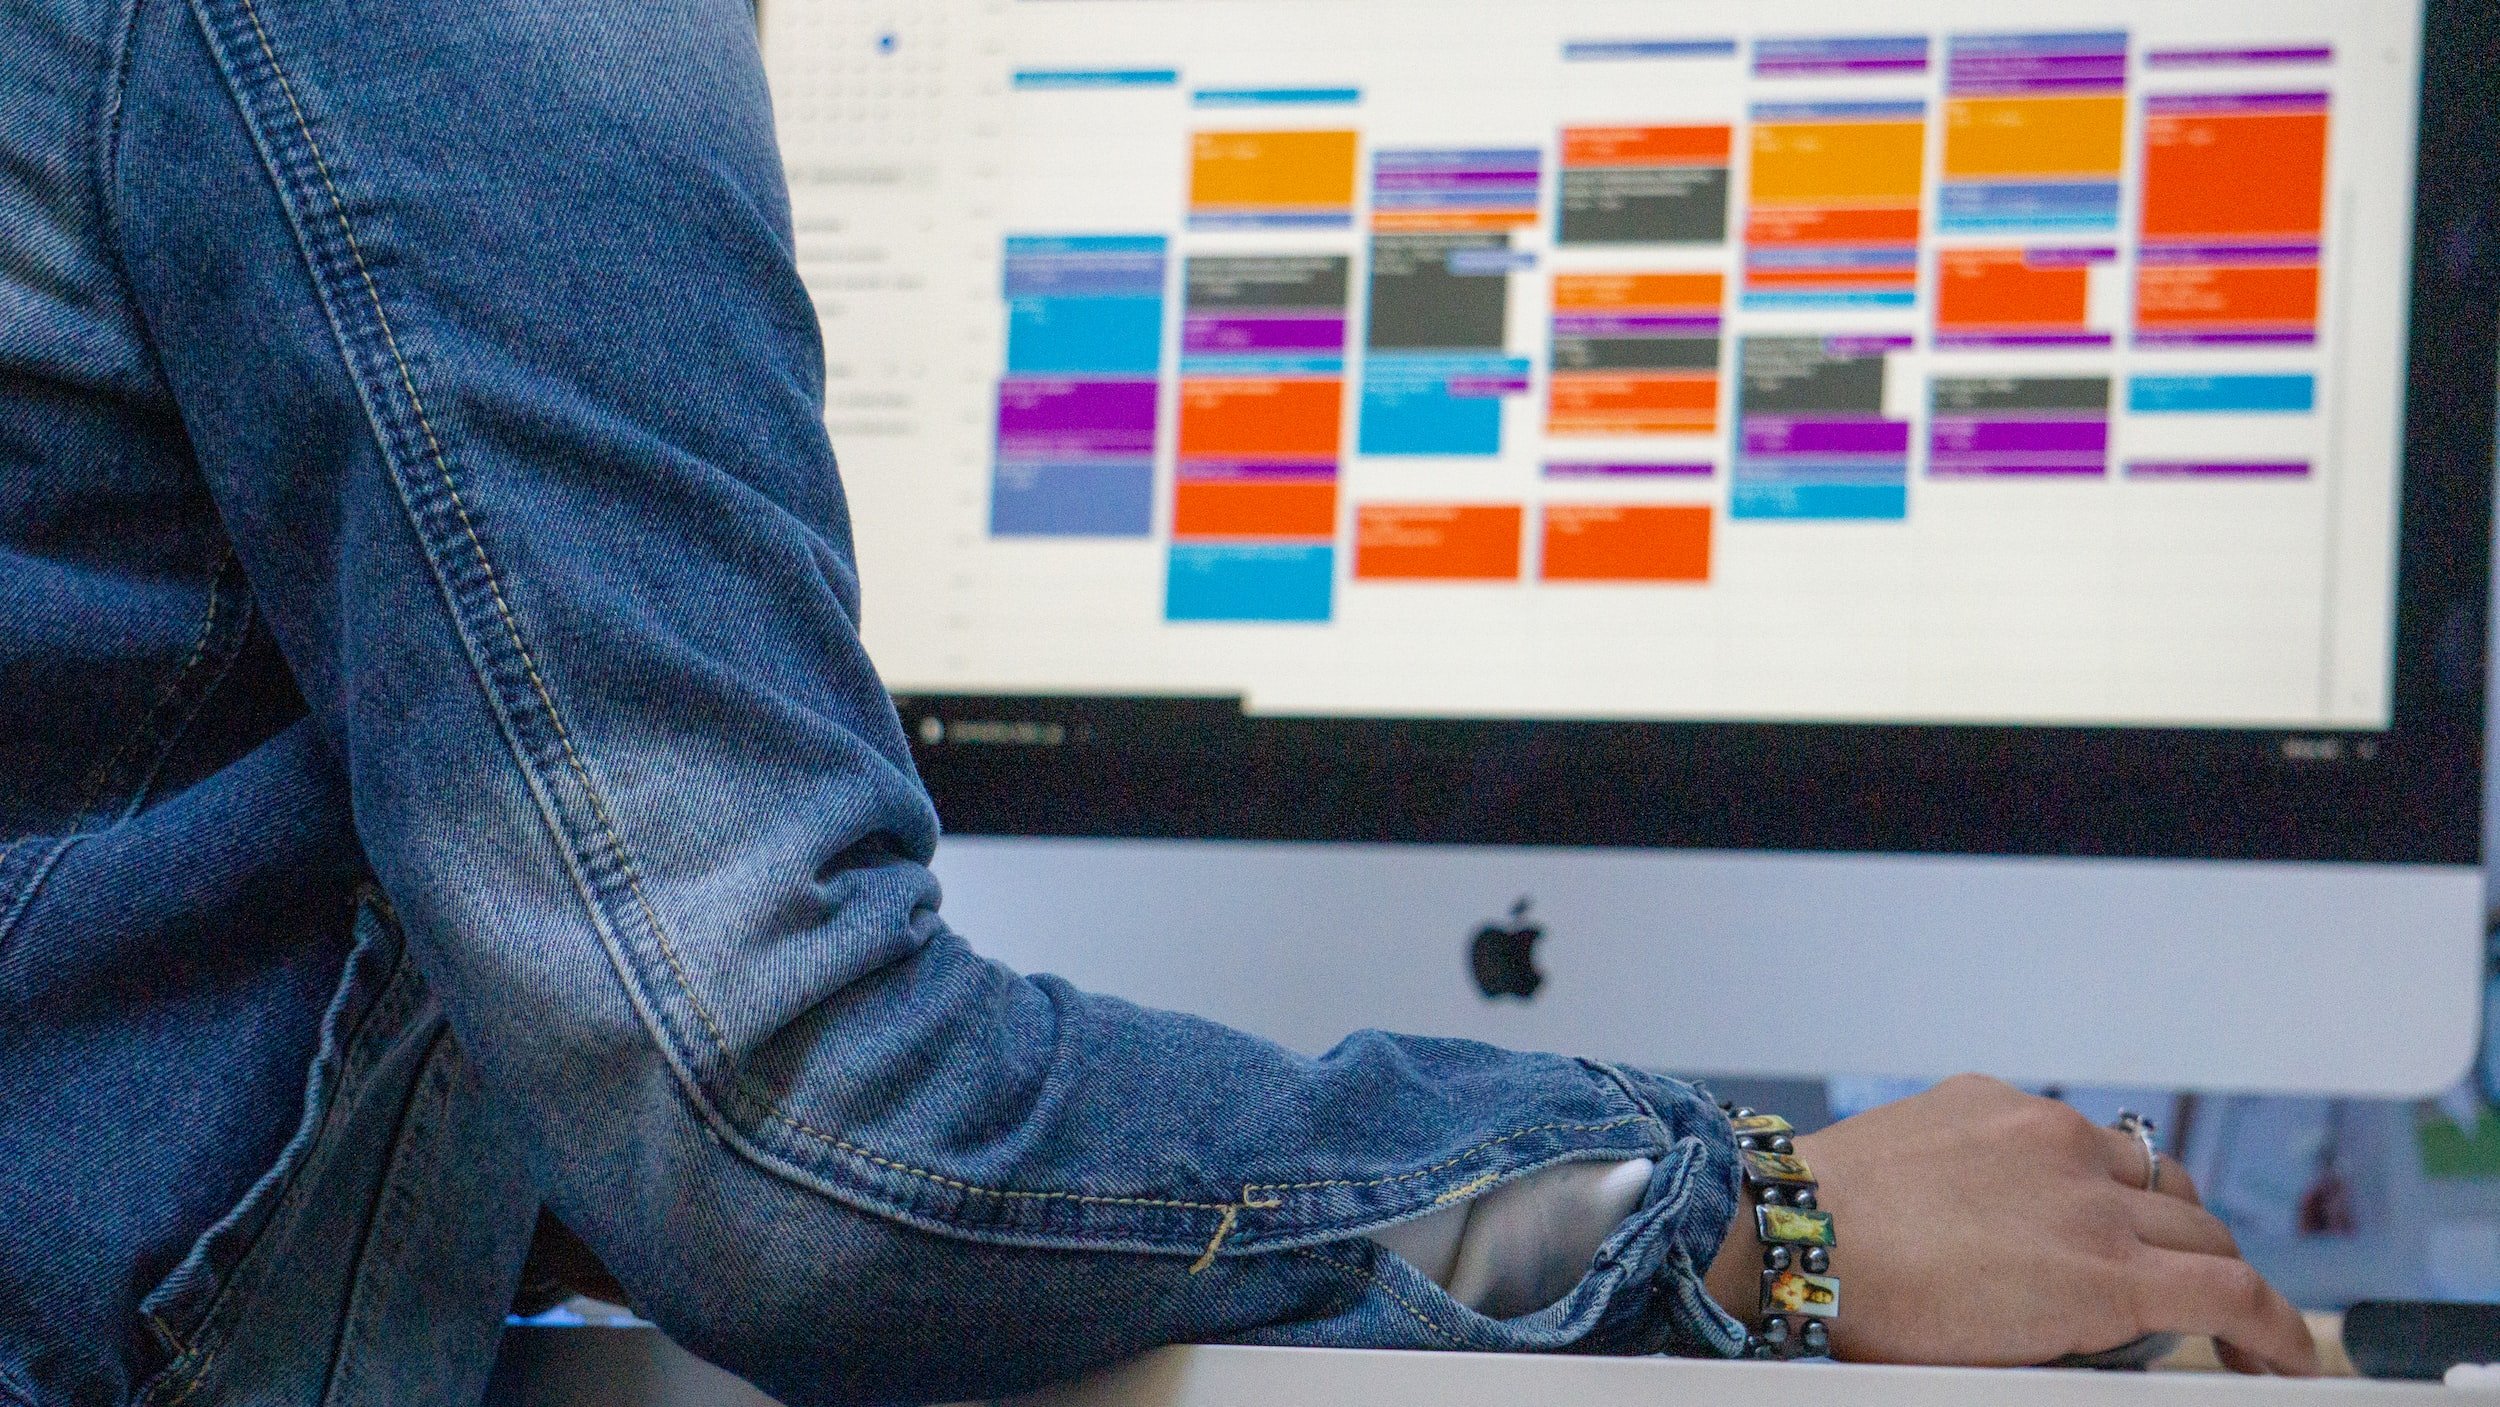
Hello, fellow content creators and social media enthusiasts! Are you tired of struggling to keep track of your social media posts? Want to ensure you always have fresh, relevant content to share with your followers? You've come to the right place! Today, we're diving into the magical world of social media content calendars, specifically using Google Calendar. Say goodbye to frantic last-minute posting and hello to a well-organized, stress-free social media strategy with our step-by-step guide on creating an effective content calendar for your social media platforms!
Why Google Calendar?
Google Calendar is a free, versatile, and user-friendly tool that can be easily accessed on any device. With its seamless integration with other Google services like Google Drive, Gmail, and Google Meet, it's the perfect choice for creating and managing your social media content calendar for platforms like Instagram, Facebook, Twitter, and LinkedIn.
Step 1: Create a Dedicated Social Media Calendar
The first step in creating your social media content calendar is to set up a dedicated calendar within Google Calendar. Log in to your Google account and open Google Calendar. On the left-hand side, click the "+" button next to "Other calendars" and select "Create new calendar." Name your calendar "Social Media Content" and add a brief description if you'd like. Click "Create Calendar," and your new calendar will be added to the list of available calendars.
Step 2: Customize Your Calendar Settings
Now that you have your dedicated social media calendar, you'll want to customize its settings. Click on the three vertical dots next to your new calendar and choose "Settings and sharing." Here, you can choose a custom color for your calendar, set up event notifications, and share your calendar with team members if needed.
Step 3: Create Content Categories
To keep your content organized, you'll want to create categories for your social media posts. These categories can include promotional content, blog posts, images, videos, and more. Assign a different color to each category to make it easy to identify at a glance. To create a category, click on the "+" button next to "Event" and choose "Out of Office." Name the category and select a color. Repeat this process for each category you'd like to create.
Step 4: Plan Your Content
With your categories in place, it's time to start planning your content. First, decide on the frequency and timing of your posts. For example, you might want to post promotional content once a week, blog posts every Monday and Thursday, and images every other day. Create a recurring event for each post, set the category, and choose the appropriate date and time.
Step 5: Add Content Details
Once you've planned your content, it's time to add the details. Click on the event you've created and add a description with information about the post, such as the topic, any relevant links, and a brief overview of the content. If you're working with a team, you can also use the "Add guests" feature to assign tasks and collaborate on content creation.
Step 6: Monitor and Adjust
Your social media content calendar is now set up and ready to go! But remember, it's important to monitor your calendar regularly and adjust your content as needed. This will ensure that your social media strategy stays fresh and relevant. Don't be afraid to experiment with different types of content and posting schedules to see what works best for your audience.
There you have it - creating a social media content calendar with Google Calendar is as easy as pie! With just a few simple steps, you can transform your social media strategy into a well-oiled machine. So go ahead, give it a try, and watch your social media presence soar to new heights on all your favorite platforms!

